Functions: Permissions - Linked Contacts
To view which contacts are linked on the system and generate a report of all linked contacts start by clicking on Functions and select Permissions from the menu. This will open the Permissions page which is organized by tabs.


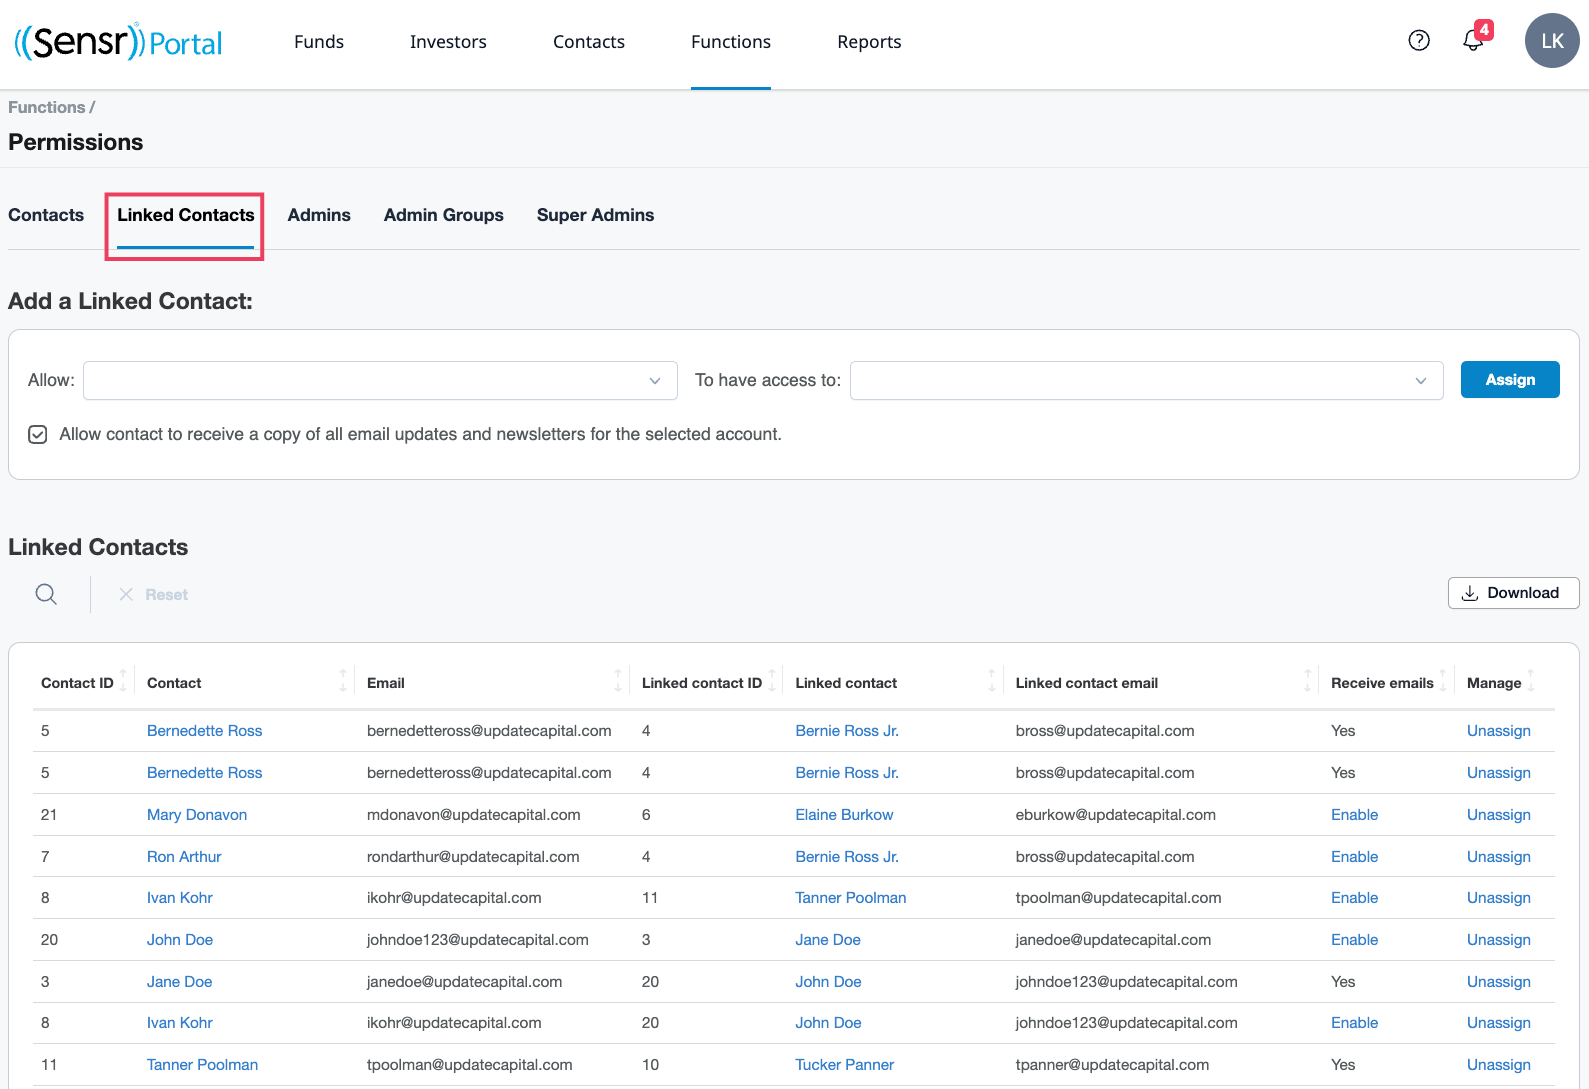
Click on the Linked Contacts tab.
- The tab is organized in two sections:
- Add a Linked Contact - Use the dropdown menus in this section to select the contact on the left that you want to have access to the contact on the right. Then click Assign button. Uncheck Allow contact to..... to prevent the linked contact from receiving email updates and newsletters. This can also be done by clicking Enable once the contacts have been linked.
- Linked Contacts table - Use the Search to locate a specific Linked Contact. Contacts on the left can access the information provided to the contact on the right. To remove a link, click on Unassign.
Use the Download button to download the table as a CSV file.


