Popup Actions
Popup Actions are used to notify contacts of various things such as, Accept Terms of Use, wire instructions, review tax forms, etc. Creating a popup action follows the same initial step as creating all action types.
Create Popup Actions
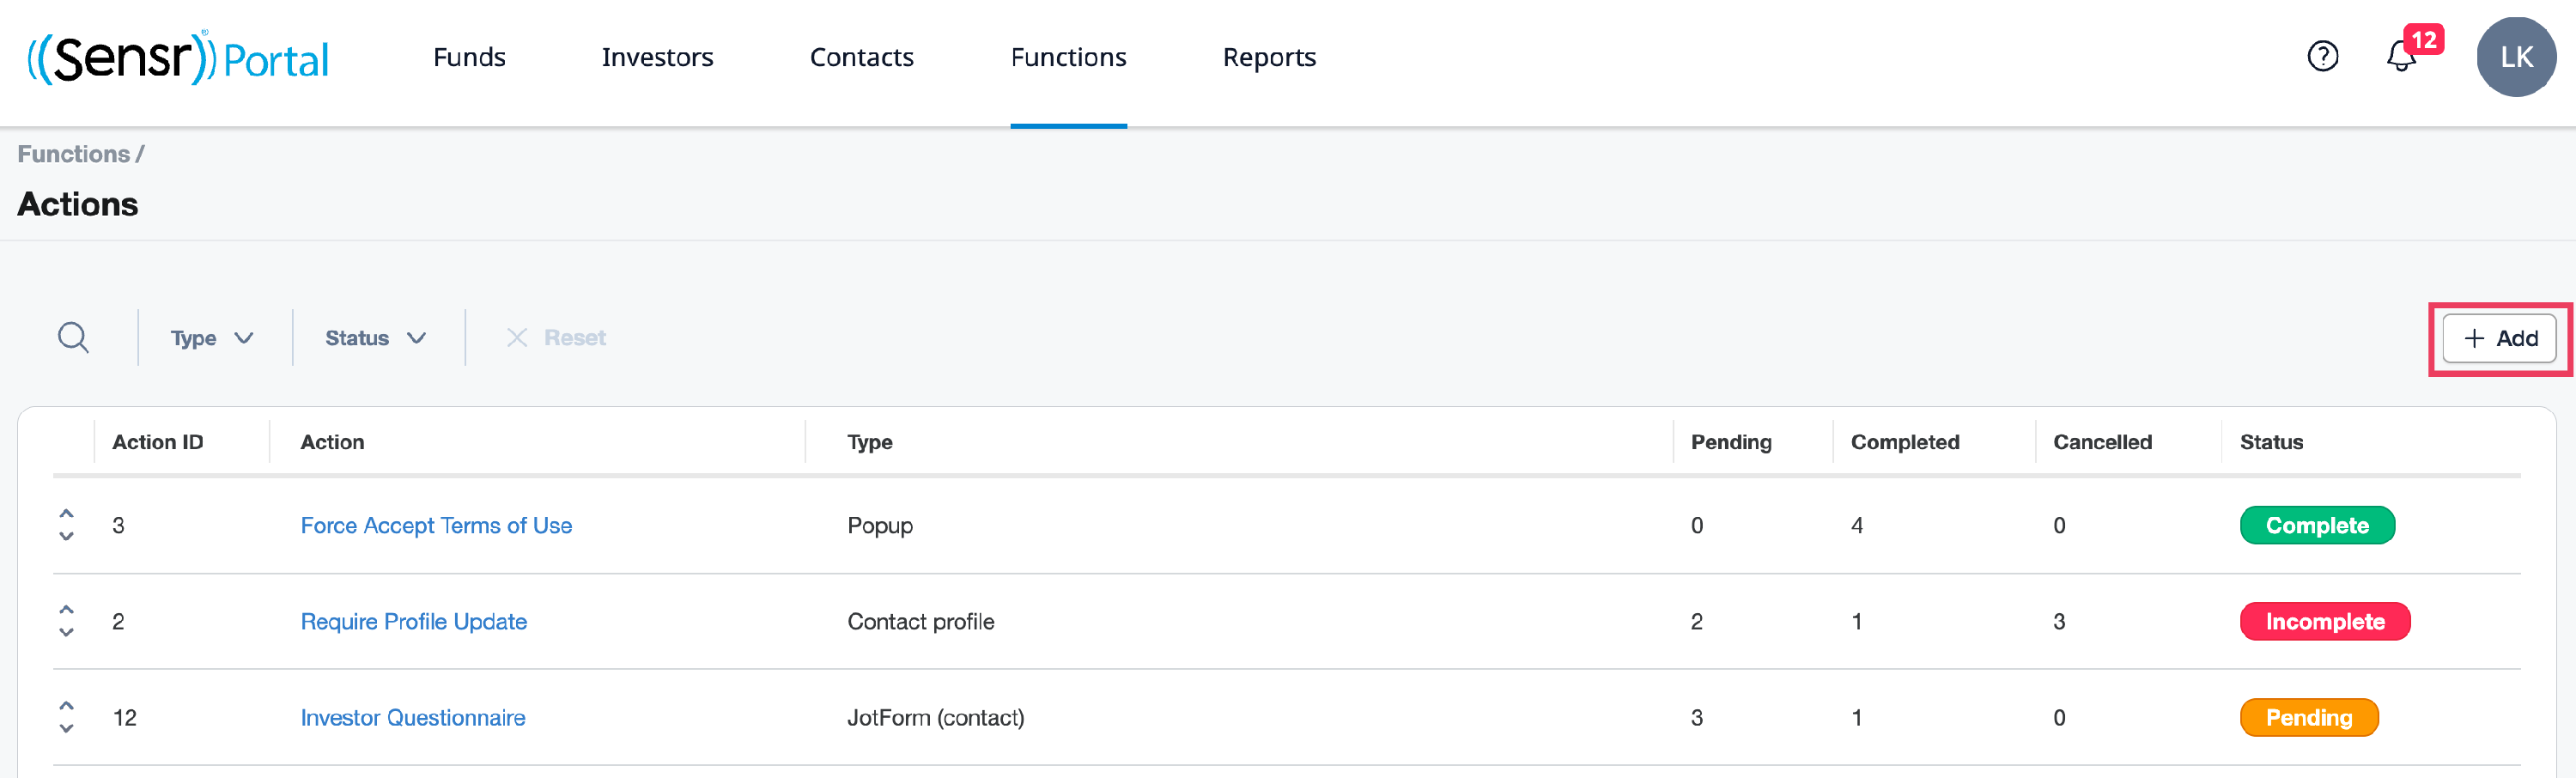
- From the Functions menu click Actions.
-
Click + Add in the top right corner.
-
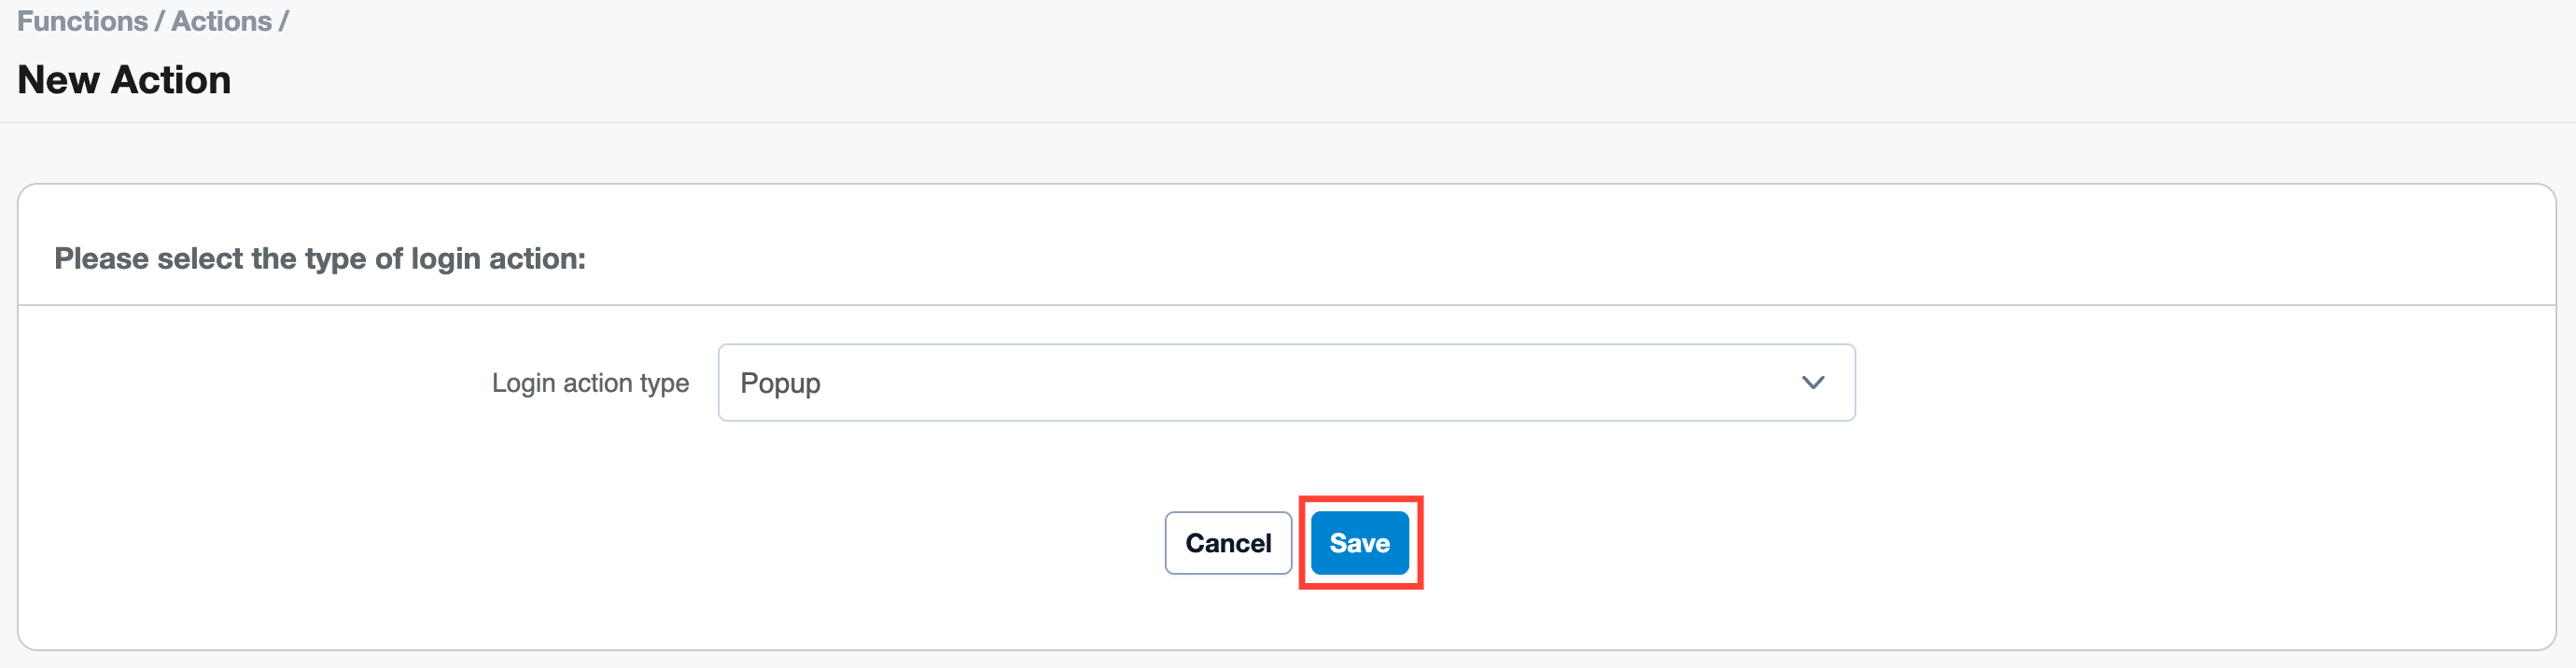
Select Popup from the drop-down list then click Save.
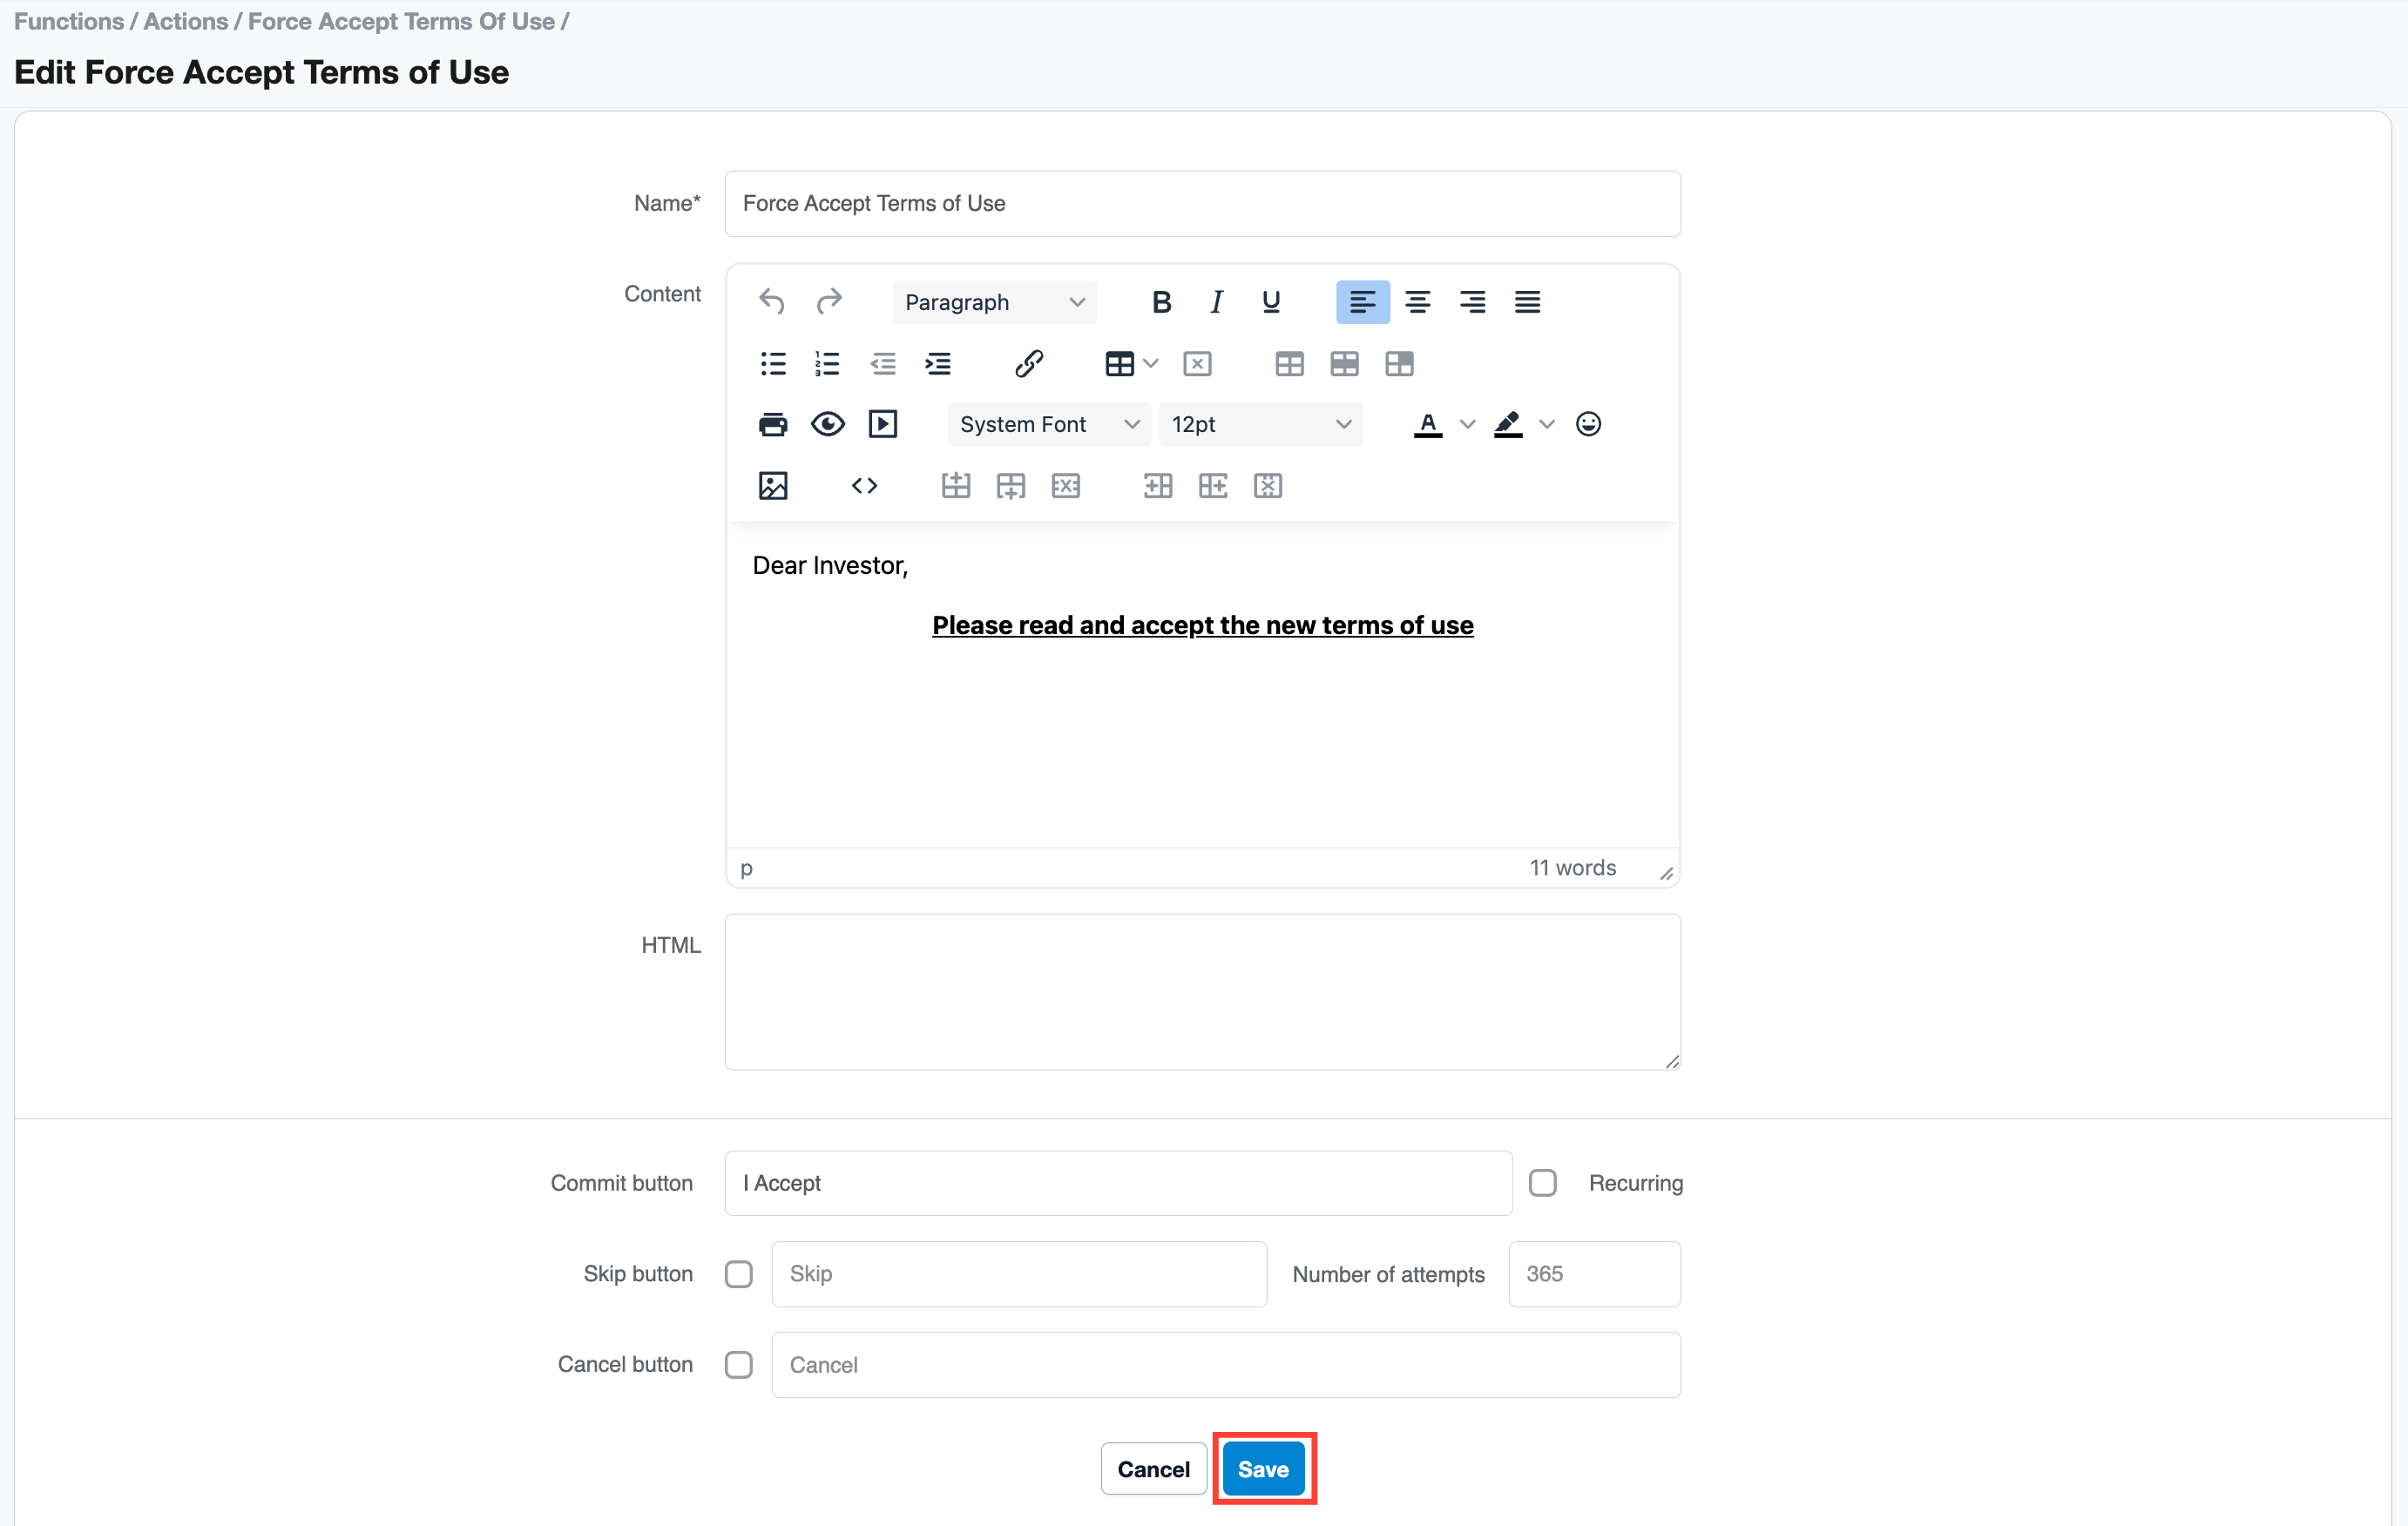
- Then enter the information for your popup action:
- Name: this is an internal name for admins
- Content: this is what contacts see when the action appears
- Commit button: the name of the button the contact clicks to proceed
- Recurring (optional): displays the action upon every login regardless of which button was selected
- Skip button (optional): check this if you want to allow the contact to skip the action, you can set a limit to the number of times they can skip this action
-
Cancel button(optional): allows the contact to cancel the action and log out
-
Click Save. At this stage, you can test this action on a test contact. Cick +Assign Contact button to add a test contact previously created. Then, navigate to the Contacts page, locate the test contact and click View Site as Contact. You will then be greeted with the test contact's experience after logging in. Refer to sample image below:

Notice there are multiple actions to complete upon login.


NOTE: Multiple actions will appear in order at the top of the page.
IMPORTANT: If you do not provide the contact with any skip or cancel options, they will be forced to complete the action.
- Once you are satisfied with the contact experience, you can go ahead and assign contacts using the + Add tags or +Assign all Contacts, +Assign Contact buttons located on the Actions page under the Contacts: section.

- Under the Manage column, click on View to see the contact details or Remove to remove a contact from the list of contacts assigned to this action.
- To assign this action to all future contacts who sign up to the site, click on Click here to automatically add new contacts to the table above located below the Contacts section.