Functions: Communications - Newsletters
The Newsletters page is located in the Functions menu under Communications. Here admins can manage newsletters and access the Newsletter Wizard to create and send newsletters various scenarios like sending multiple fund updates to a group of users at once. Existing newsletters with a Draft status can be edited following the details below.

Overview
The Newsletters tab includes a list of all newsletters that have been created in the portal, along with the current Newsletter status and Fund Update status. Use the search and filters to locate a specific newsletter. The Compose button launches the Newsletter Wizard while checkboxes are available to perform bulk deletion of any unpublished newsletters.

Edit an Existing Newsletter
- Navigate to Communications > Newsletters.
-
Find the newsletter you want to edit and click the Newsletter ID to open the newsletter wizard in separate tab.

- The wizard will automatically open to the most relevant step based on the newsletter's current state:
- Draft newsletters with no recipients selected → opens on Step 2: Select Recipients.
- Draft newsletters with recipients already saved → opens on Step 3: Review.
- Sent newsletters → opens on Step 3: Review *you can still resend the newsletter or publish as fund updates.
- Make the needed modifications, click Save Changes, then Continue to proceed through the workflow and Send Newsletter/Publish as Fund Update as needed.


IMPORTANT: Once a newsletter has been sent, you cannot edit the content (subject, body, or funds) or change the recipient list. The wizard locks to the Review step. Admins can still Resend the newsletter to the same recipient list or Publish/Unpublish the associated Fund Update.
Bulk Delete Newsletters
-
Use the checkboxes to select which newsletters to delete. This activates the Delete button.
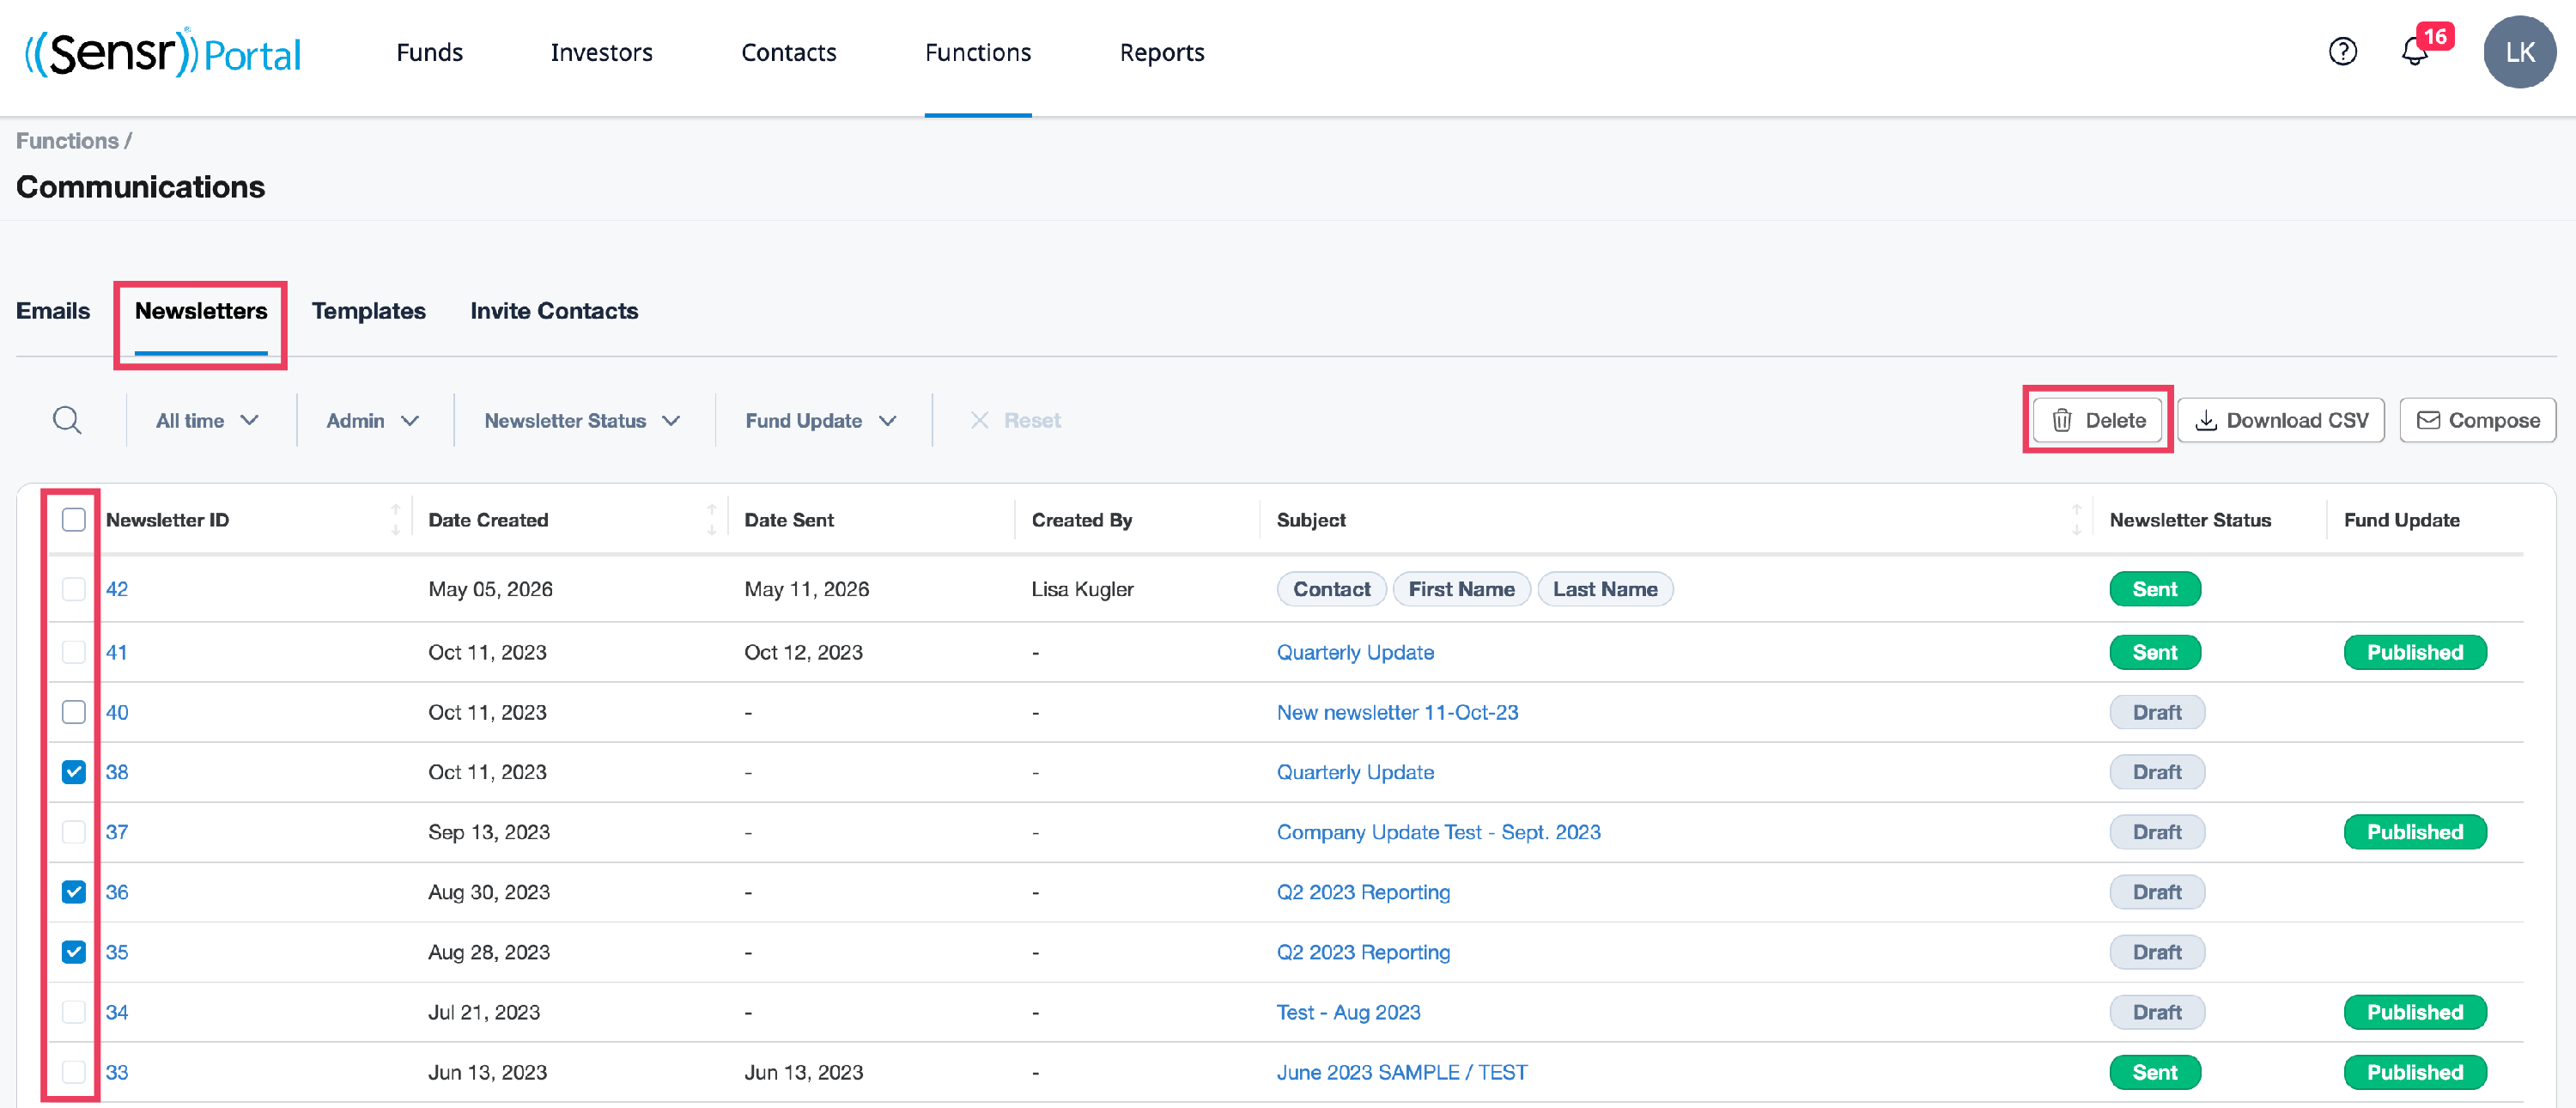
- Click Delete. A popup confirmation appears. Click OK to complete the action. *Note: Deletion of newsletters is an irreversible action.

IMPORTANT: By default, the checkbox next to Sent newsletters or Published Fund Updates is greyed out as they cannot be deleted. However, admins can use the Unplublish Fund Update button at Step 3: Review to unpublish a fund update and click the Resend Newsletter button, if needed.