Functions: Permissions - Admins
As you grow your team, you may need to create more administrator accounts to manage Sensr Portal efficiently. To access Admin permissions, navigate to Functions - Permissions where the page is organized by tabs.

Add Administrators
-
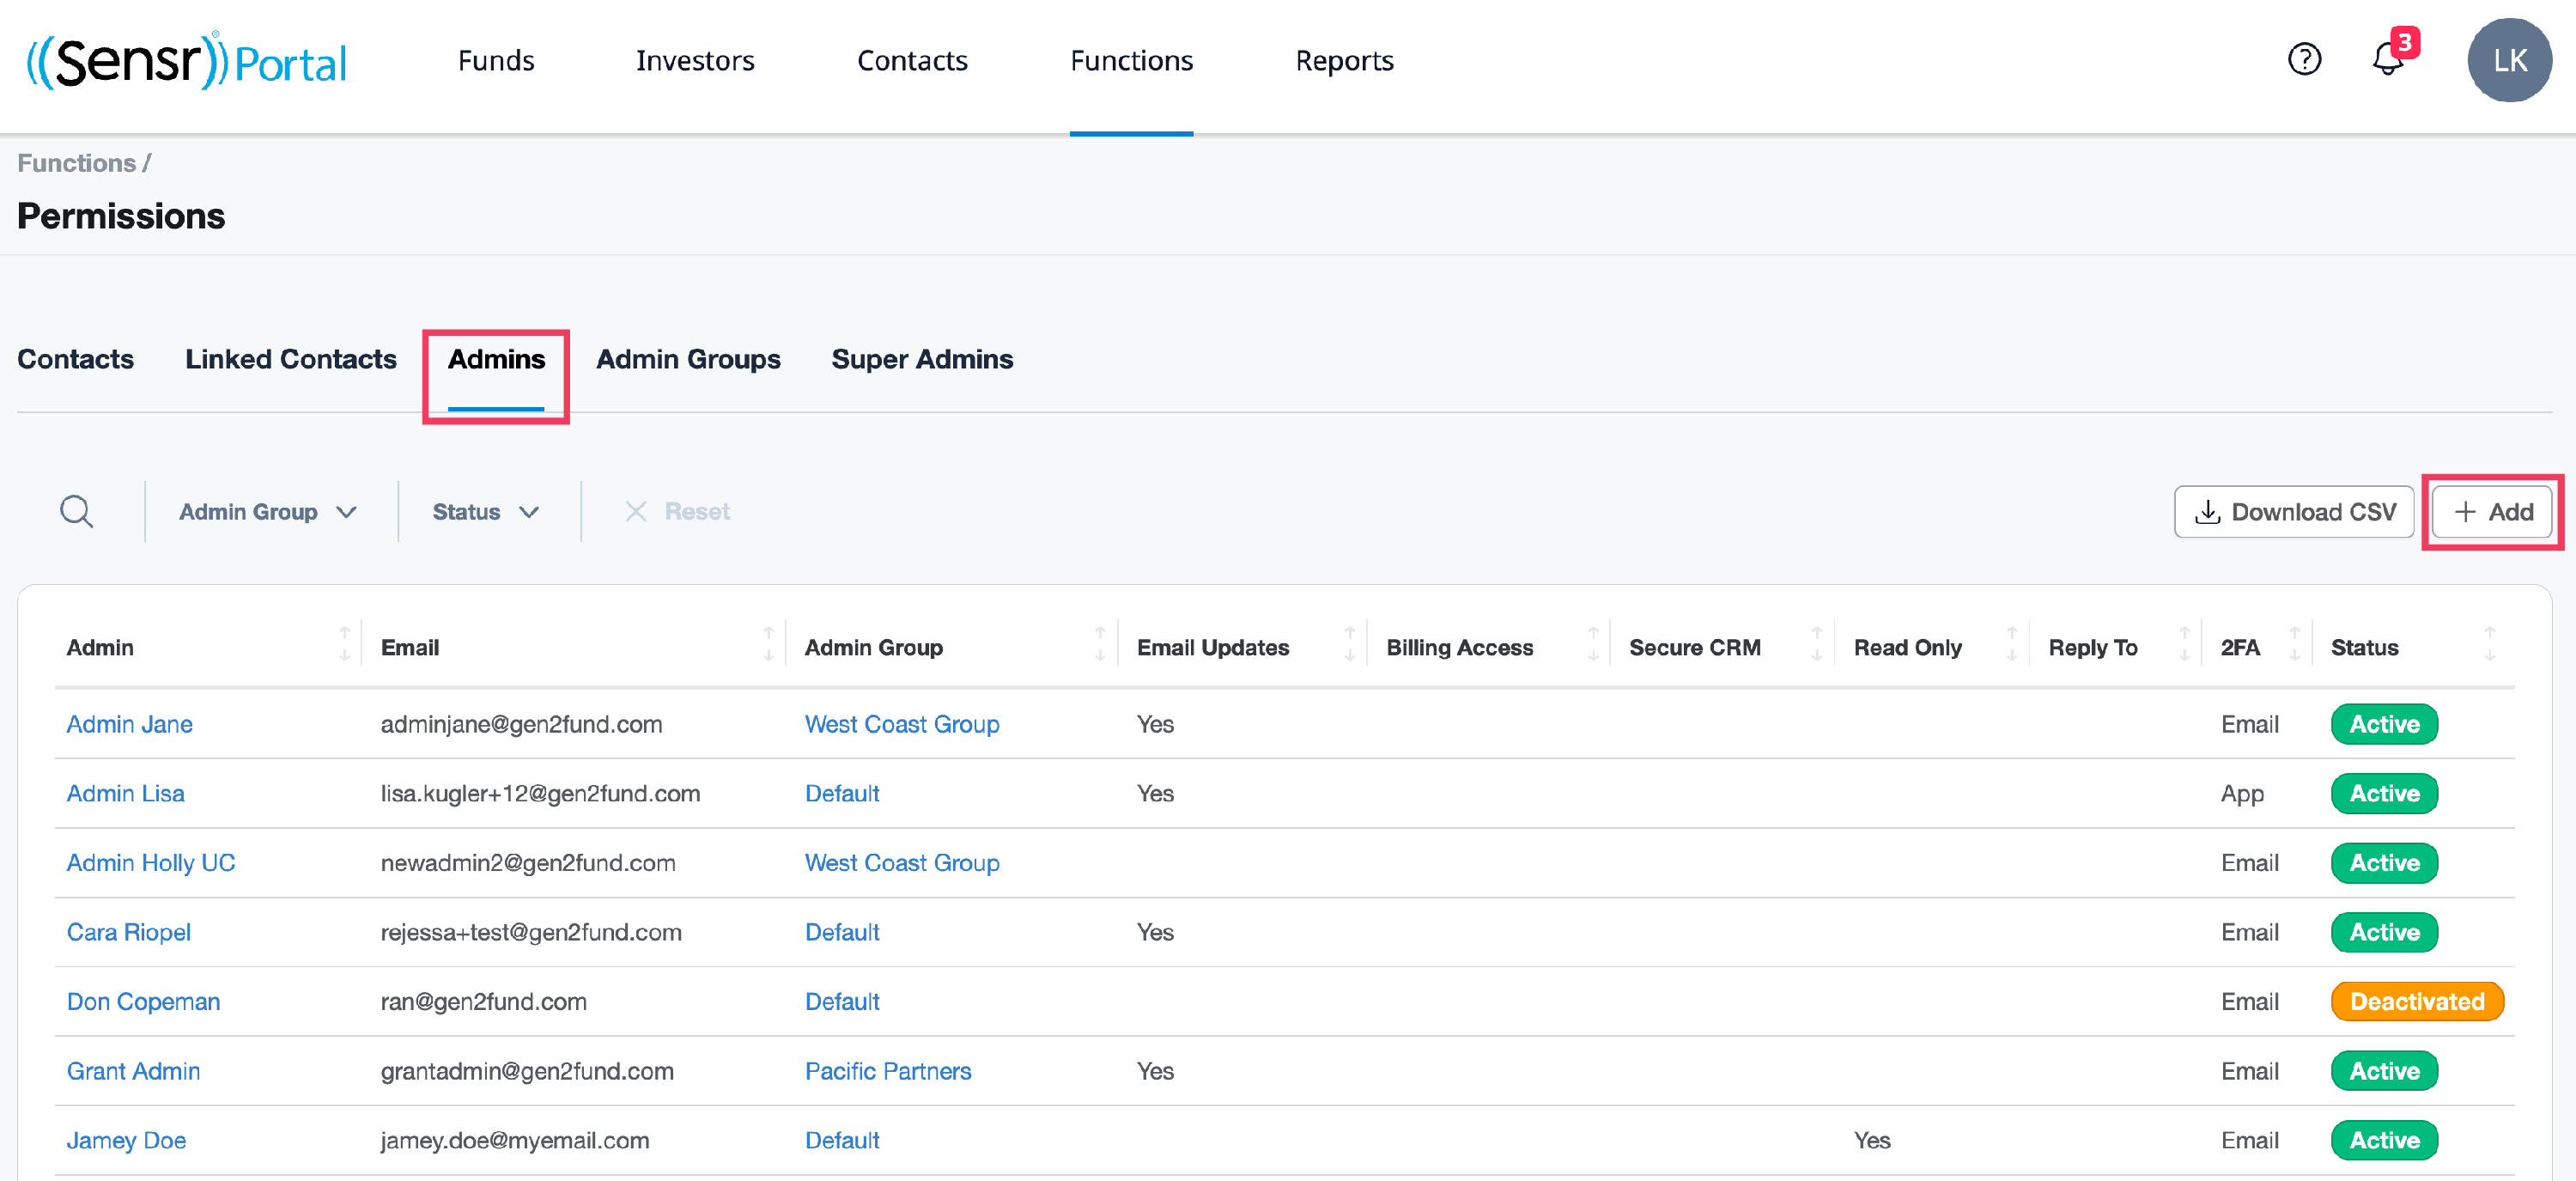
Click the Admins tab to view a table of existing admins, their various permissions and status. Use the +Add button to create an Admin.
- Complete the admin details fields, select admin group and use the checkboxes to set permissions:
- First Name / Last Name: the admin name.
- Email: the email they will receive communications. They will also use this address to sign in.
- Admin group: select the group you want this new admin to belong to.
- Permissions Checkboxes:
- Email Updates: indicates whether the admin is on the list that receives system notifications.
- Billing Access: indicates the admin has access to the Billing section.
- Secure CRM: indicates whether the admin can see decrypted/unencrypted CRM values and access the NACHA payment files and bank accounts.
- Read-only: indicates the admin as read-only; they can not write/edit any system data and do not have access to the Functions and Reports menus.
- Reply To: designates the admin's email as the system-wide Reply To address for all communications sent from the portal.

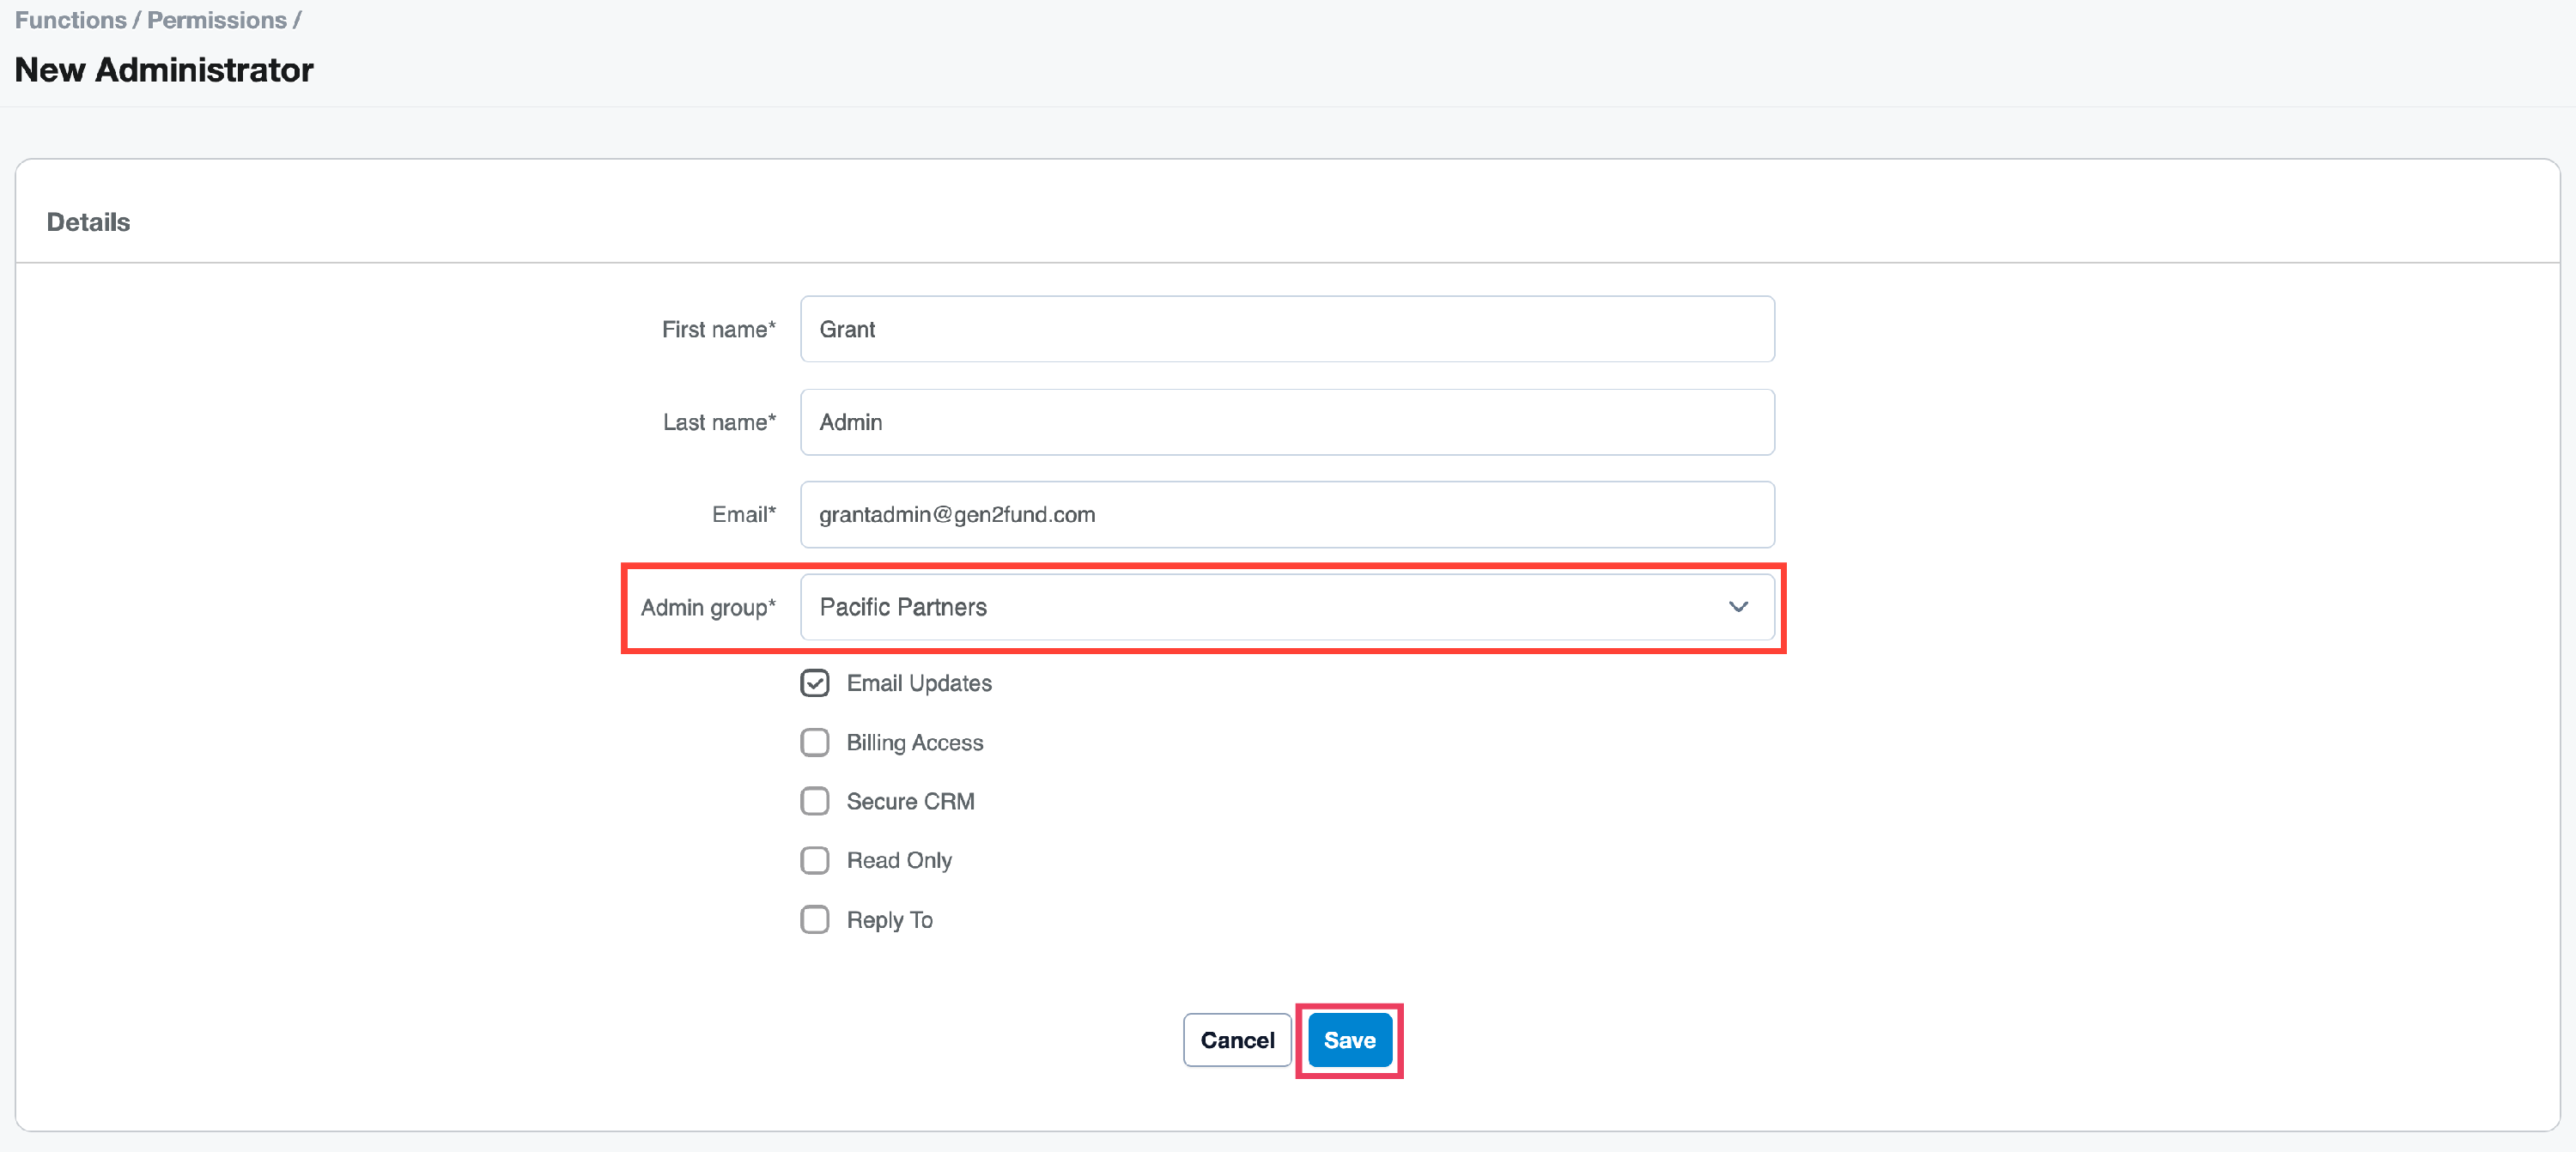
- Click Save. This takes you to the view Admin page where a green banner confims the admin was created successfully.
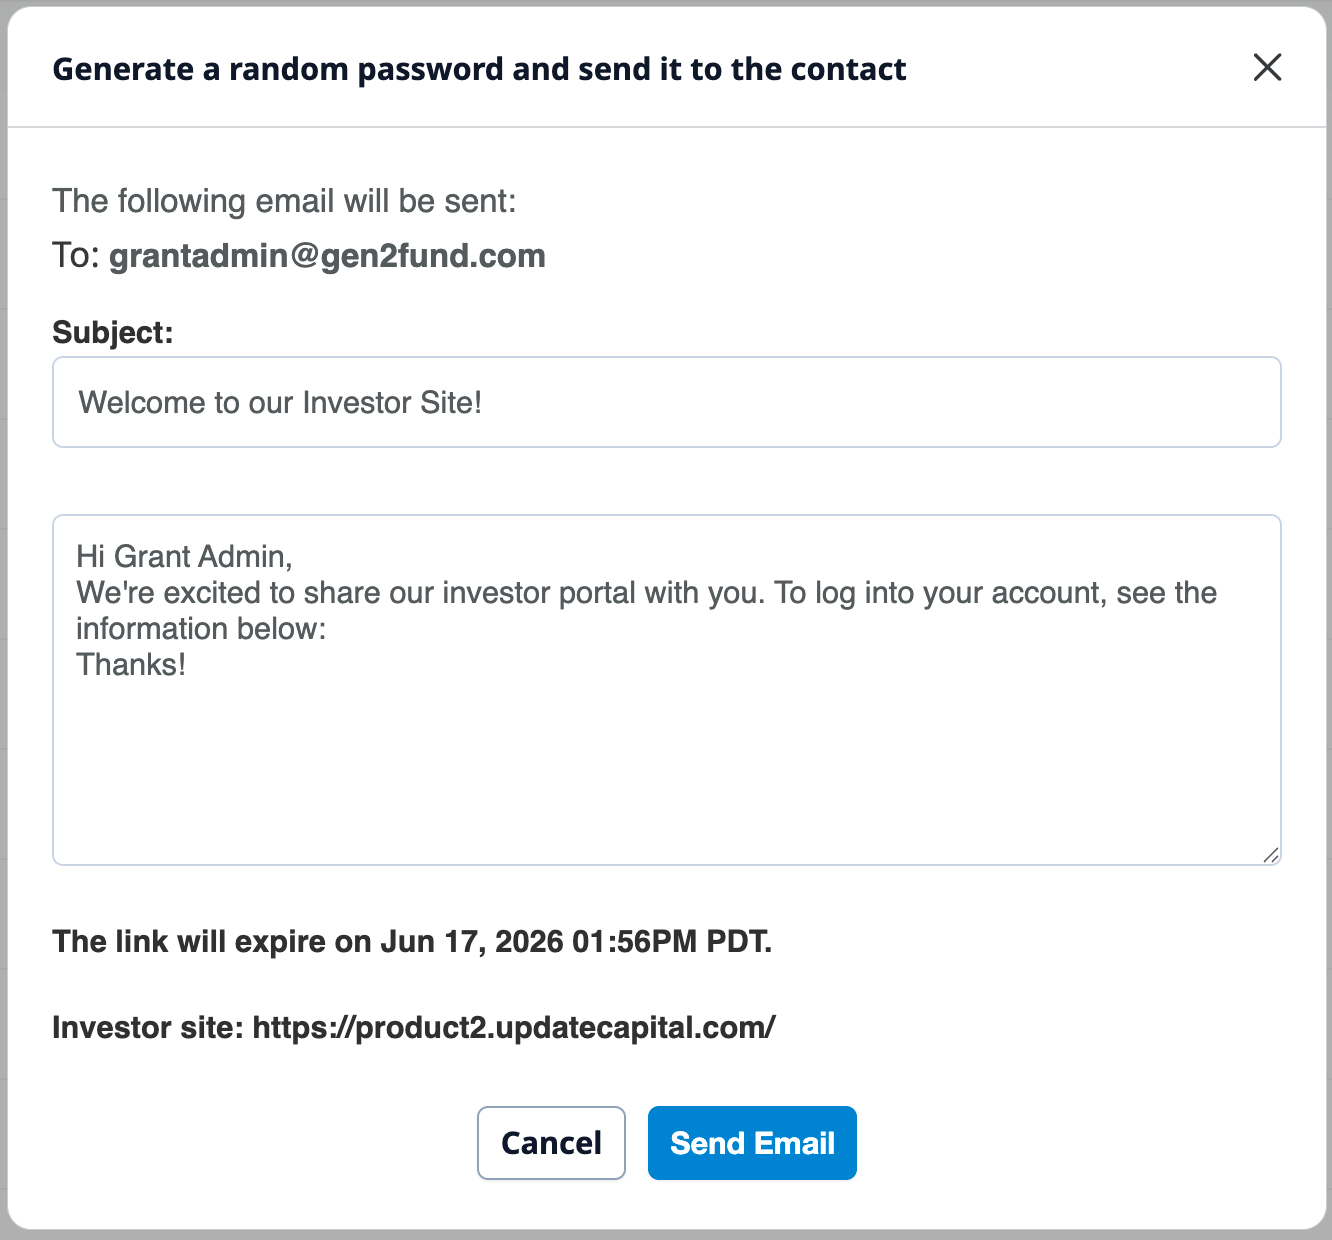
- To invite the admin to log into the portal and access their account, click the Reset Password button. Review the invitation, modify accordingly and click Send Email to invite them to the system.
View and Edit Administrators
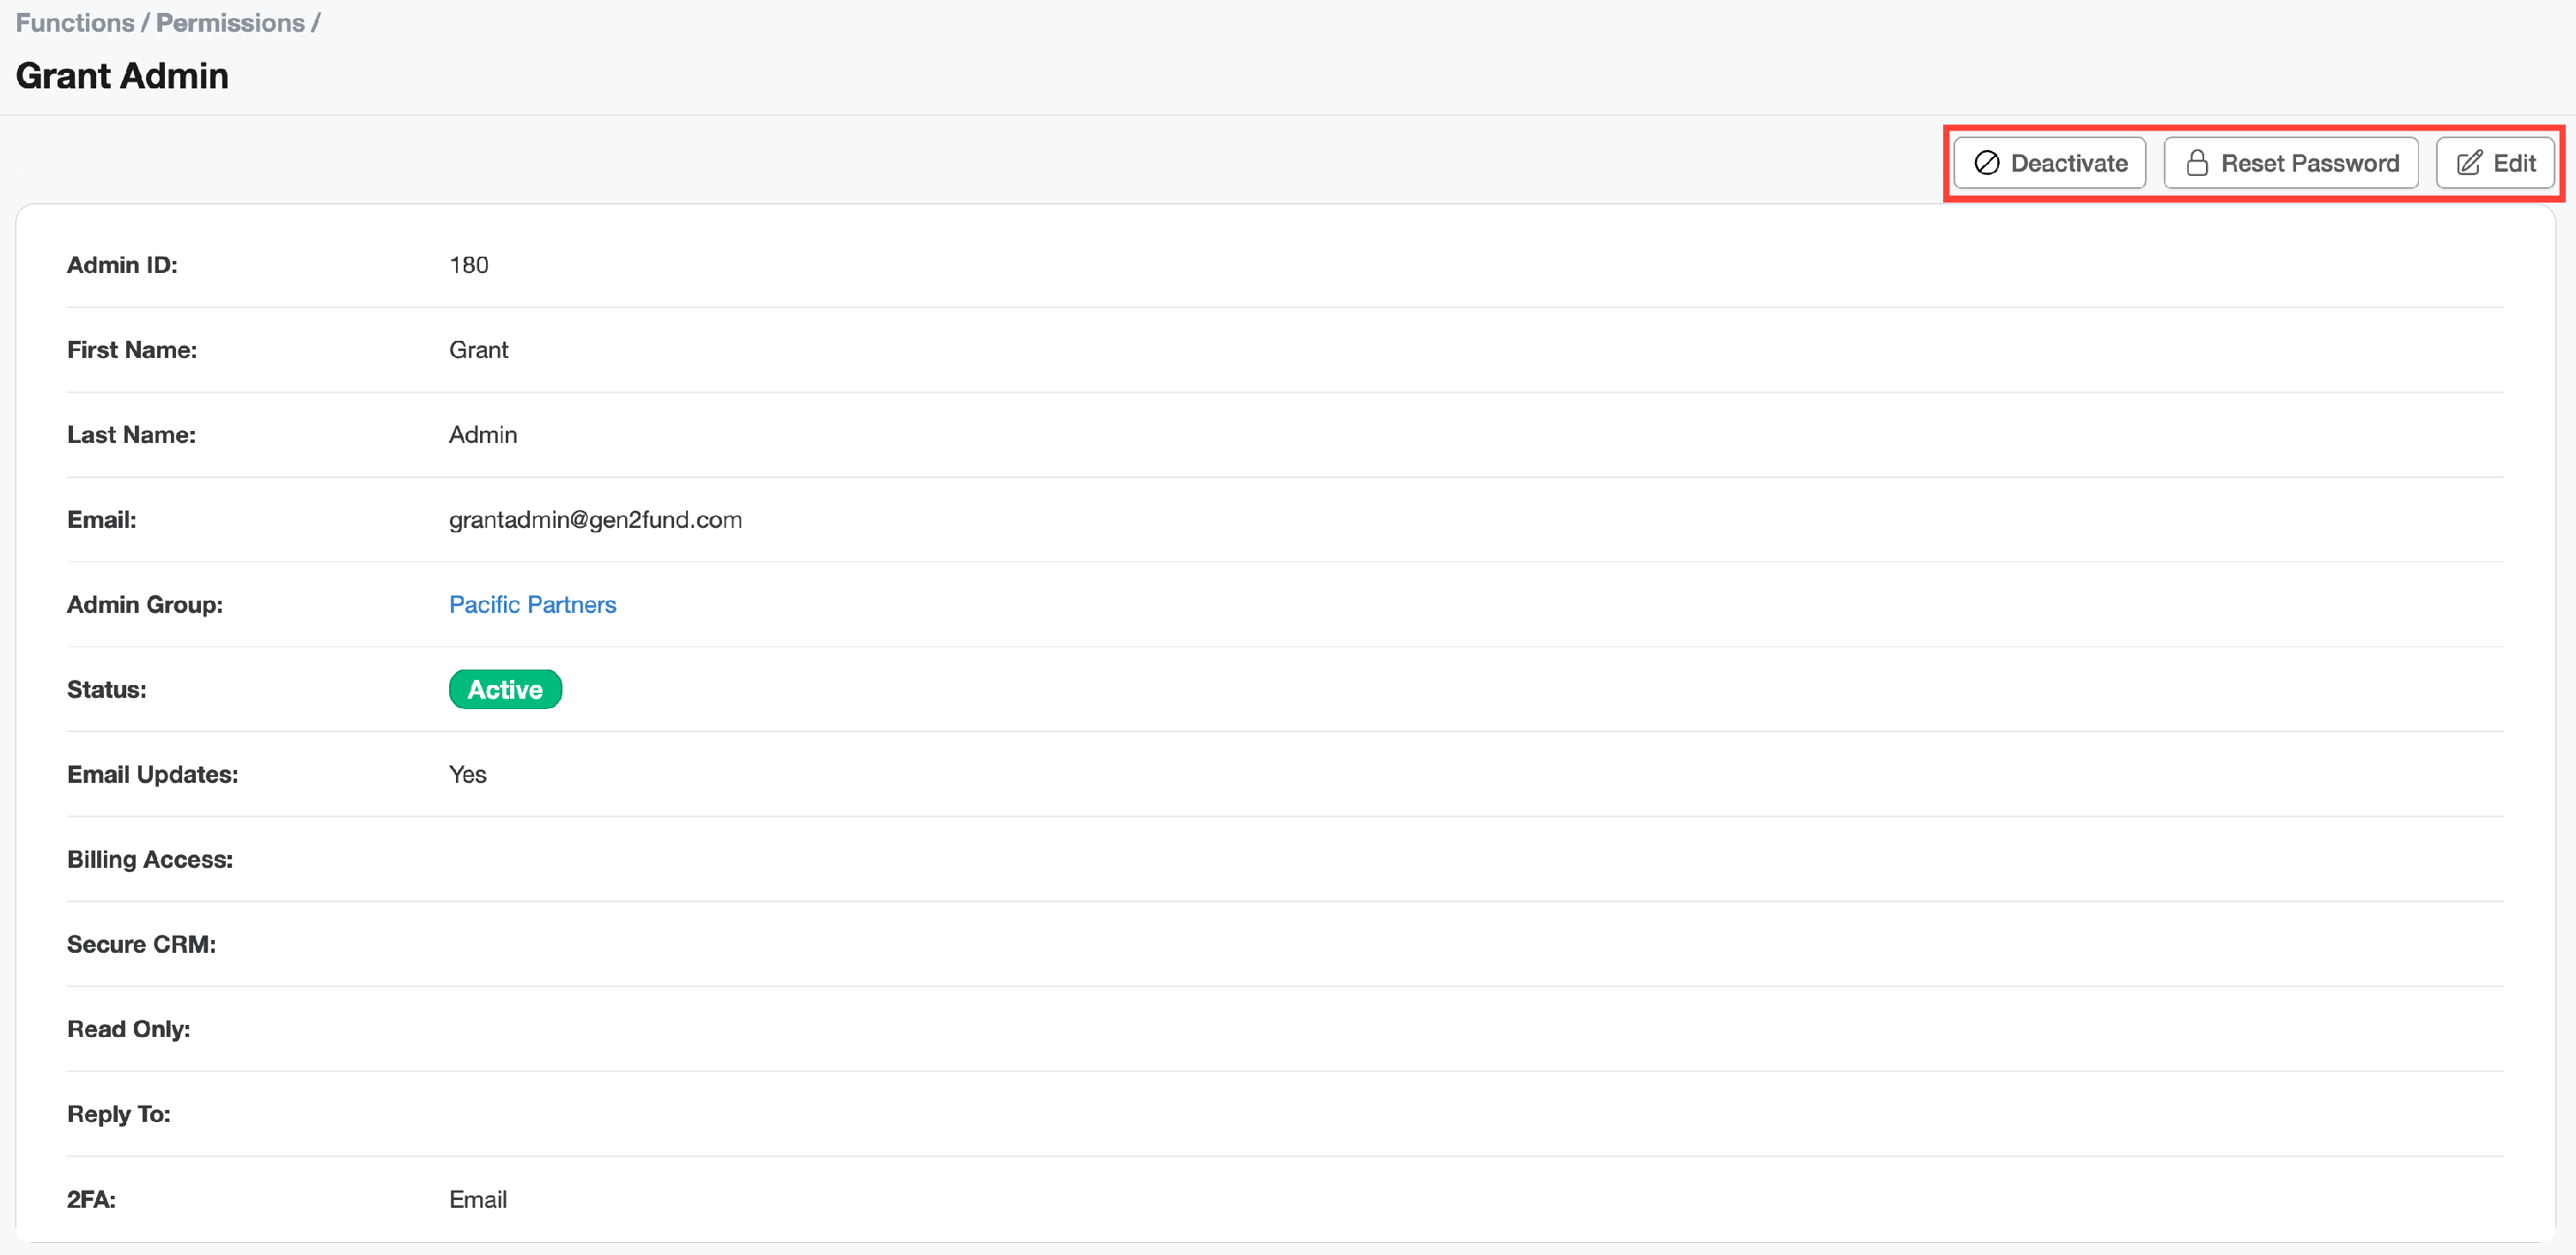
- To view and edit an admin, click the admin name listed in the table. This opens the admin view page where you can access three buttons:
- Deactivate - this deactivates the admin, however, they can be reactivated, if needed.
- Reset Password - to reset the admin password and send reset password email.
-
Edit - to modify admin details.
- Modify admin access permissions as needed using the checkboxes:
- Email Updates
- Billing Access
- Secure CRM
- Read Only
- Reply To

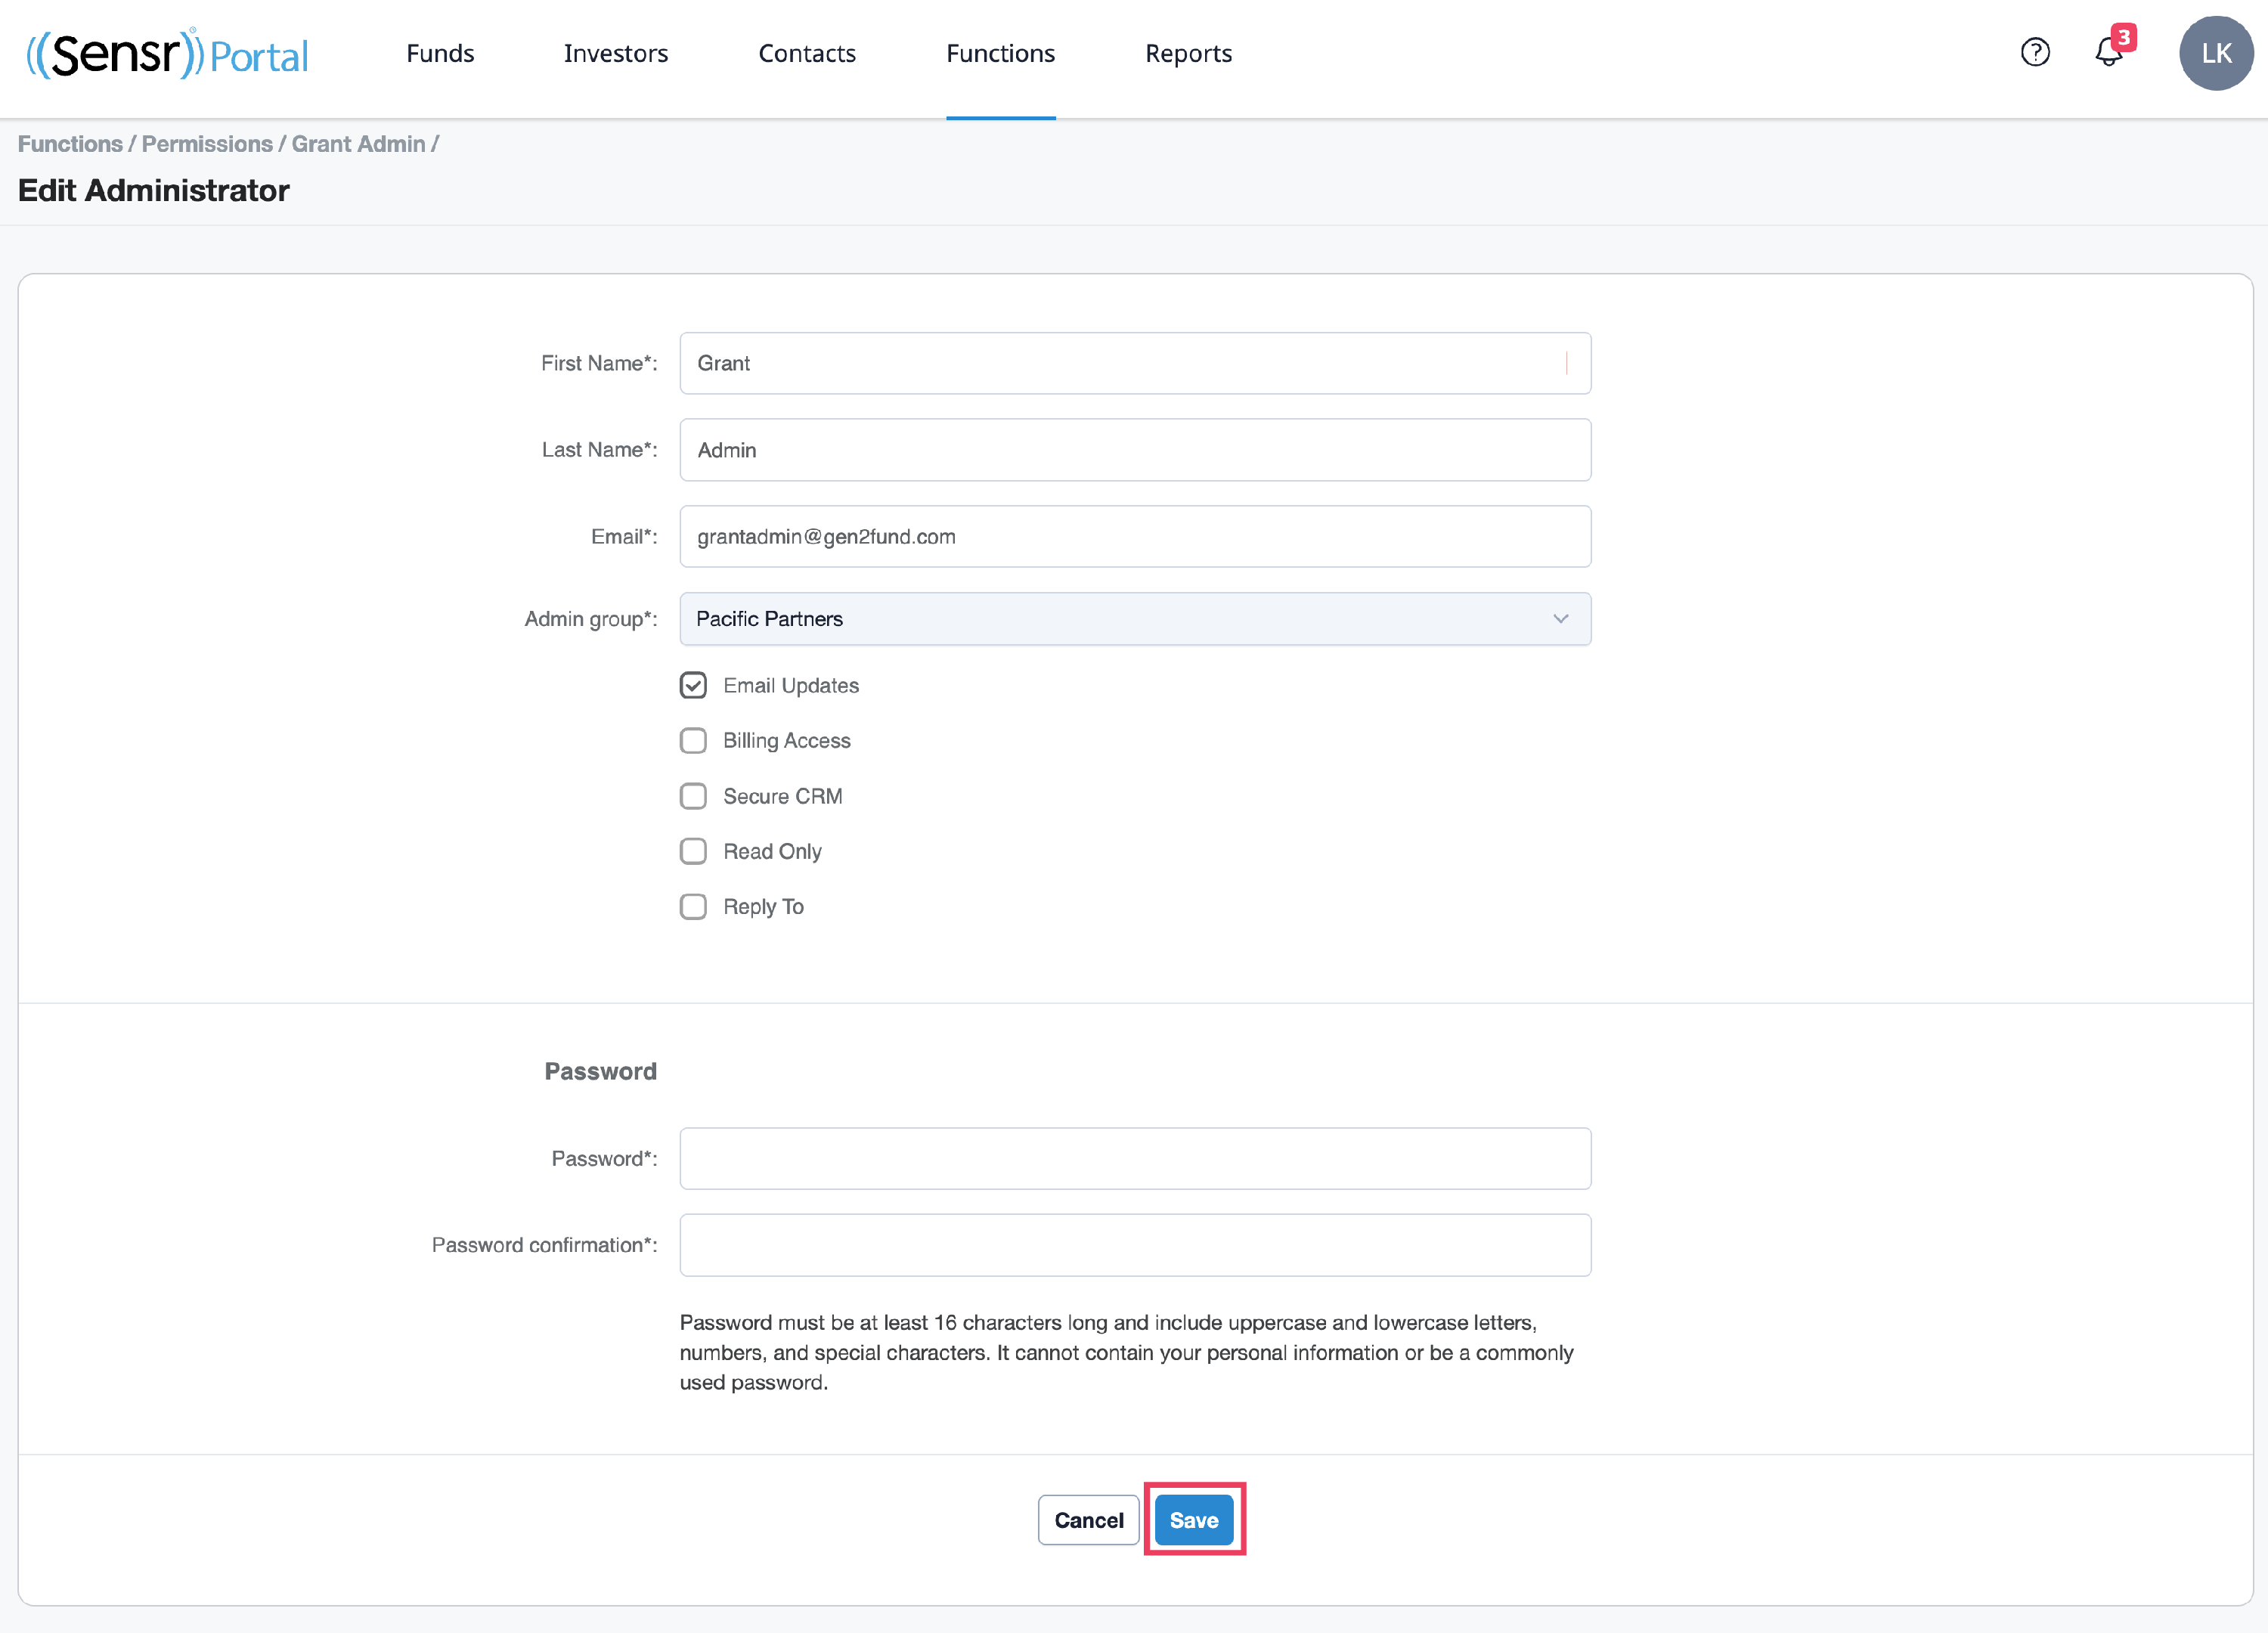
- Click Save.