Docusign Actions
Docusign Actions are used to notify contacts there is a document ready for signing. Creating a Docusign action follows the same initial step as creating all action types.
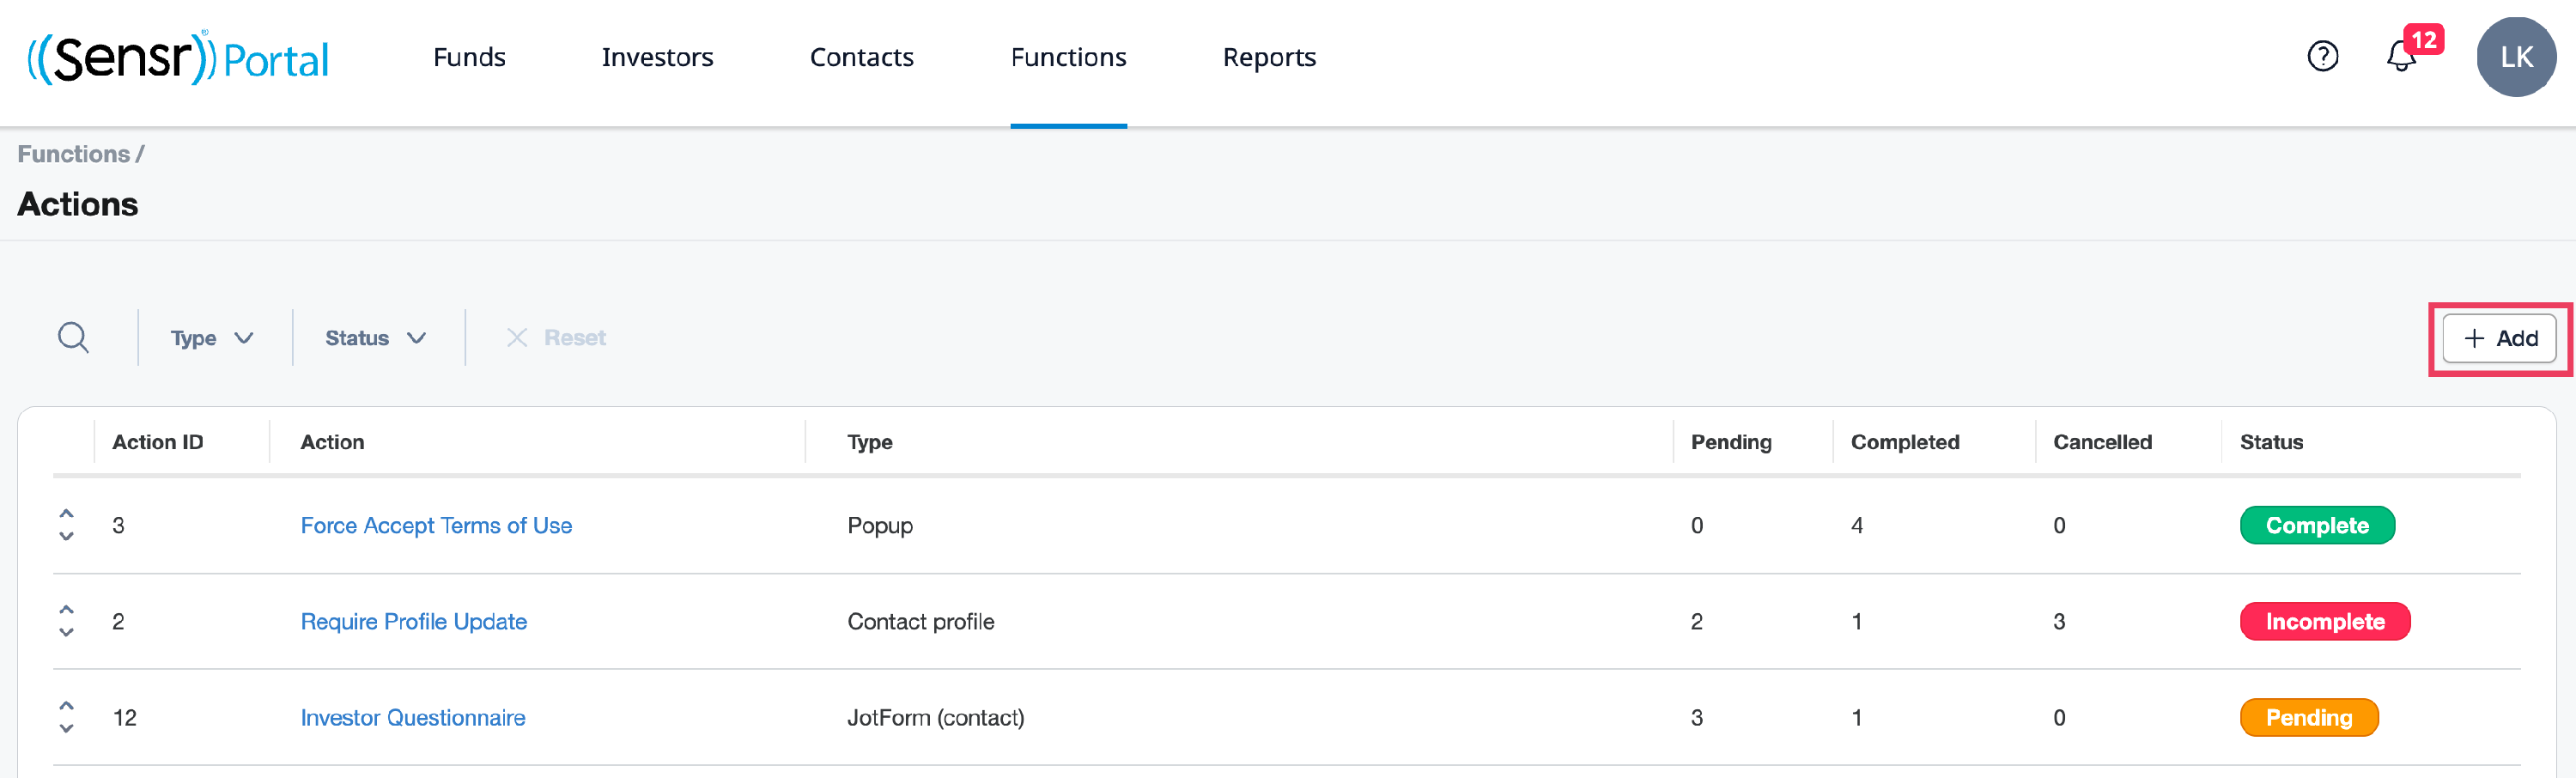
Create Docusign Actions
- From the Functions menu click Actions.
-
Click + Add in the top right corner.
- Select Docusign from the drop-down list, then click Create Action.


- Complete the fields:
- Name: this is internal to admins
- Content: contacts will see when the action appears for them.
- HTML: field can be used to insert HTML.
- Commit button: action button name
- Recurring (optional): displays the action upon every login regardless of which button was selected
- Skip button(optional): allows contact to skip the action (set Number of attemps to skip)
- Cancel button(optional): allows contact to cancel the action and log out. The checkbox allows the contact to reject the action so the contact will not be presented with the signature request again.

- Click Update.
- Under the Template section, click +Add Template to connect the downloaded Docusign template and add the PowerForm URL. To complete this step you need to download the Docusign template. Refer to Download and Add the Docusign Template for details.
NOTE: Be advised, the system only allows one Docusign template to be added per action.
IMPORTANT: Before you can add a Template from Docusign, ensure the following:
- The portal is configured properly *Contact Portal Client Success for support.
- The Docusign template has been created on Docusign for each investor.
Refer to the Functions: Integrations - Docusign article for additional details.
- To assign this action to contacts, use one of the three buttons:
- +Add tags - assigns the action based on tags
- +Assign all Contacts - assigns the action to all contacts
- +Assign Contact - assigns the action to contacts from a dropdown menu
