Add Distributions to a Fund
This tutorial covers how to add existing distributions to an active property on the Sensr Portal.
How to Bulk Upload Distributions
Important: You will not be able to add distributions to a property without first having investors added to the property, visit the Adding Investors tutorial to learn more.
- Navigate to the Funds page and select the related fund.
-
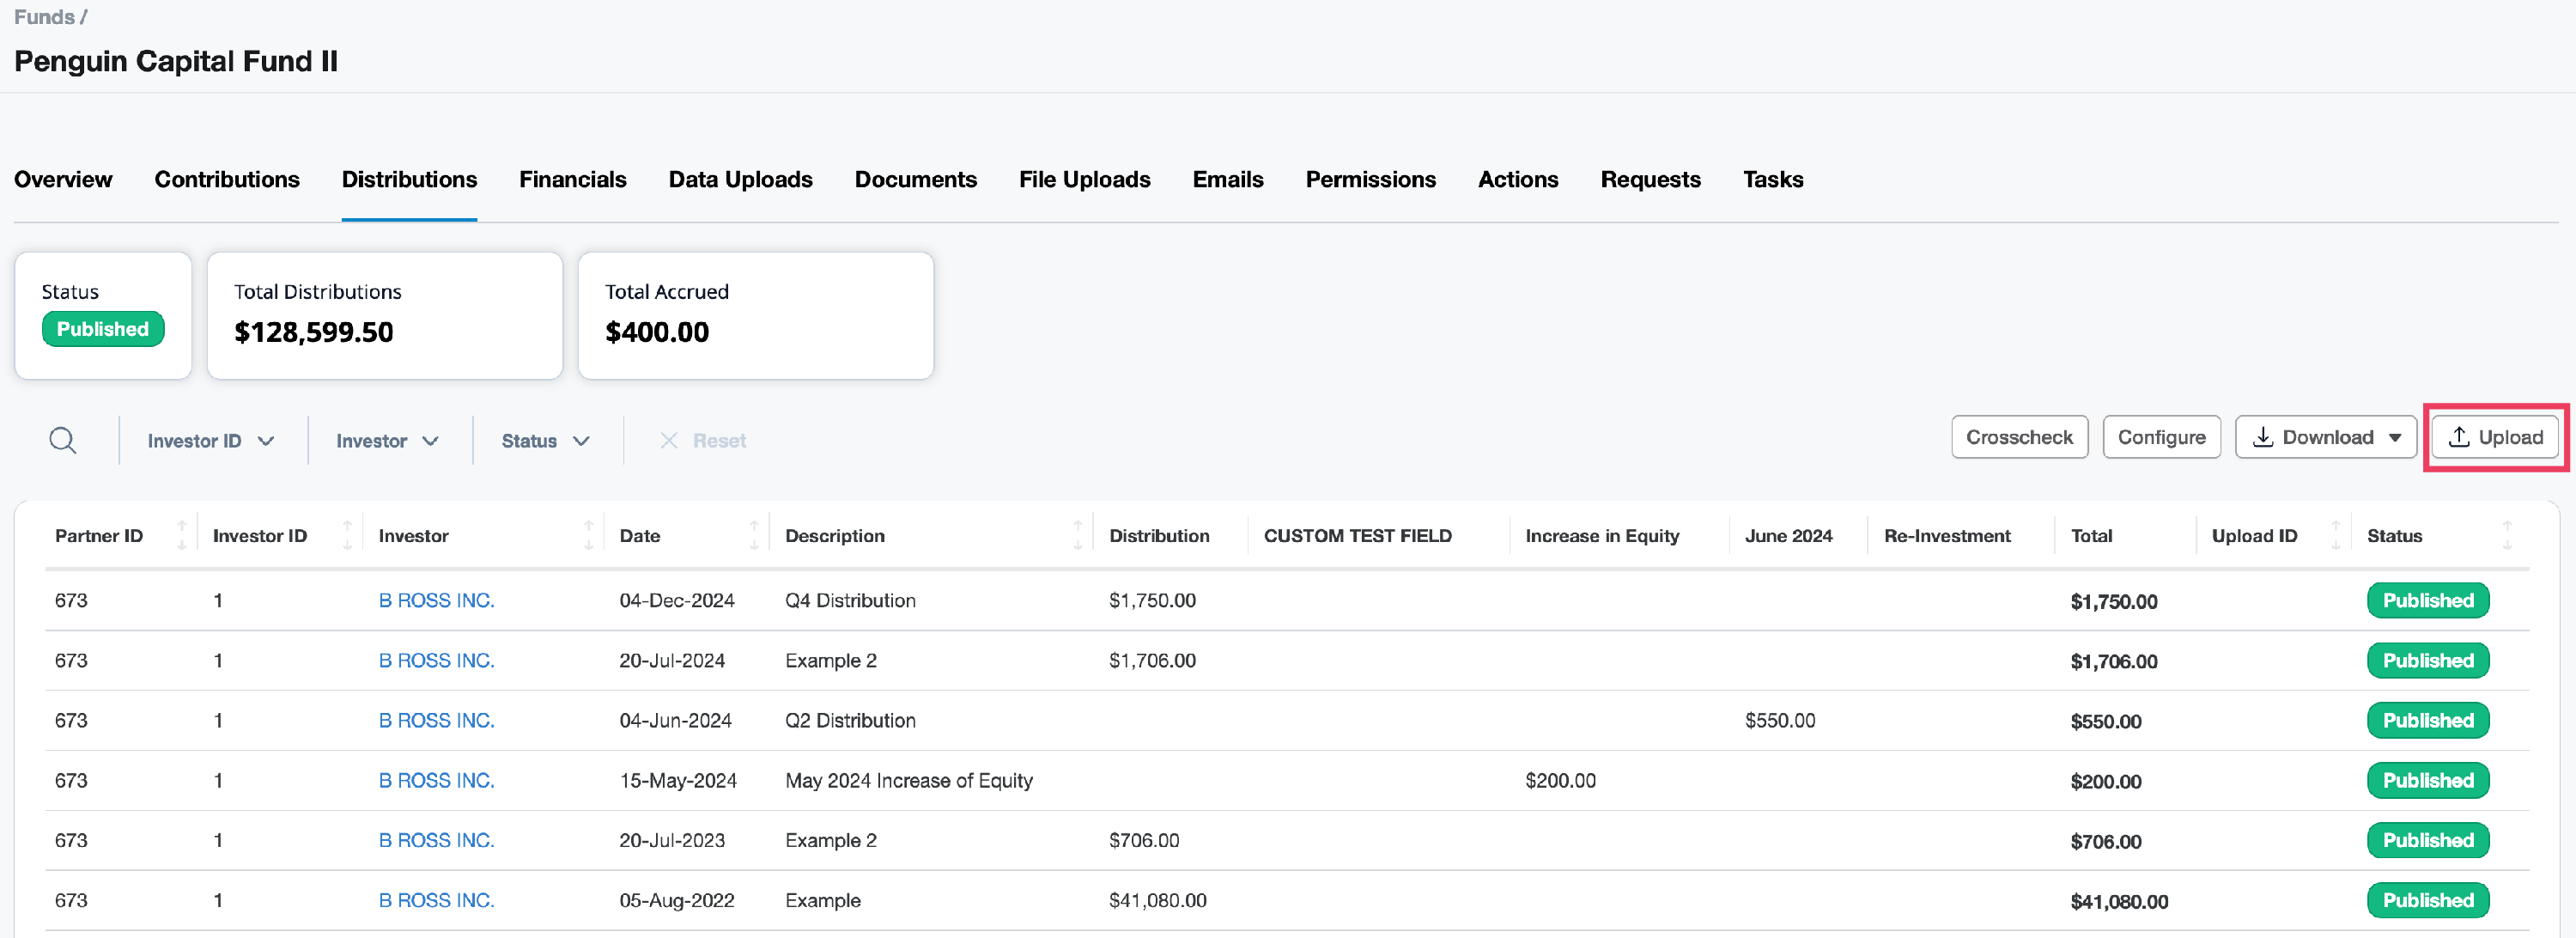
Click on the Distributions tab. Before you begin, check your distribution table configuration to ensure it is configured properly and includes all the required distribution types. Simply click the Configure button to access the setup options.
TIP: To configure your distribution table and add additional distribution types refer to the article on how to Configure Distributions Table.

-
Once distributions for the fund has been configured, click on Upload button.

TIP: For Real Estate clients, click on Download button to use the template. Fill in the Date and Description required fields on the popup window and click OK.
- Open the downloaded file that provides a list of investors who have invested and are due for distribution. You can pick and choose the investors you want from the template and fill in the amounts or make any necessary changes. Be aware of the important points below:
- The investor must already exist in Sensr Portal before you can successfully import distribution data.
- The template is used only to populate and import data.
- The template columns are aligned with the Distributions tab columns.
- There will be a row for every single investment. For example, some fields may have duplicate investor IDs for the same investor who has invested under multiple entities.
TIP: Accepted file types include CSV and XLSX. If preferred, you can export the downloaded CSV file in Excel and work from there.
- Expand all columns for easier viewing and enter all applicable distribution amount data for each row under the distribution column. Be sure to:
- Remove any rows with investors who are not included in this round of distributions. Empty distribution amount cells will cause an error upon import.
- Remove any merged headings that may interfere with a successful upload.
IMPORTANT: By default, each table includes mandatory columns for Investor ID, Distribution Amount, and Distribution Date.

TIP: You may add information for several distribution events by simply duplicating all of the rows and changing the date, description, and distribution information to apply to the separate distribution event.
- Save the file with an appropriate name (mock data used for tutorial purposes only). Now you are ready to Upload the file.
- Return to the Distributions tab on the Funds page for the related fund and click on Upload.
- Select the related distribution file for import. Refer to Data Layout Requirements for important details before proceeding.
- After import, a green banner appears to notify file validation checks passed. Review the data for accuracy before clicking the Upload button.
- Upon successful import, a second green banner appears notifying you the import successfully finished.
NOTE: Upon import, any mismatches will be listed in a yellow banner at the top of the page to alert you. The types of errors you may see include:
- Unexpected number of columns.
- Unexpected format for a column.
- Unexpected Investor ID.
- Missing required field.
*These mismatches must be resolved before a successful import can be completed.
Use the Crosscheck
Once you are ready to import the batch of distributions use the Crosscheck button to see a summary of all the investor distribution totals made to date on the distributions tab and the most recent dated distribution event totals.
